Undergrowth Station

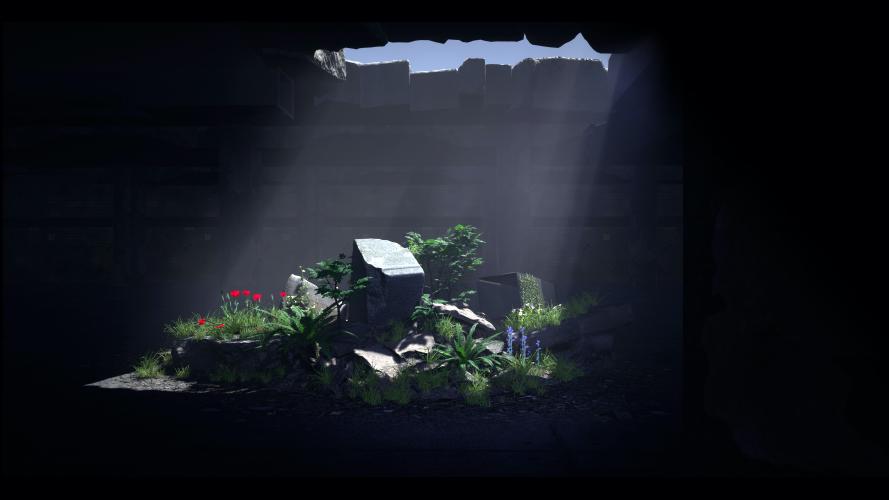
Inspired by a scene in an anime, I spent the last few weeks recreating it in Unreal Engine 4.
I think of Anime as a visual representation of ideas and concepts that would typically be hard to reproduce in any other medium, especially live-action. Coming off of the award winning Attack On Titan series, I looked for another that offered a similar level of horror, stunning visuals and gripping storyline. The same studio that made Attack on Titan made Seraph of the End, a tale of how a young boy and his orphan-friends end up as livestock in a vampire colony.
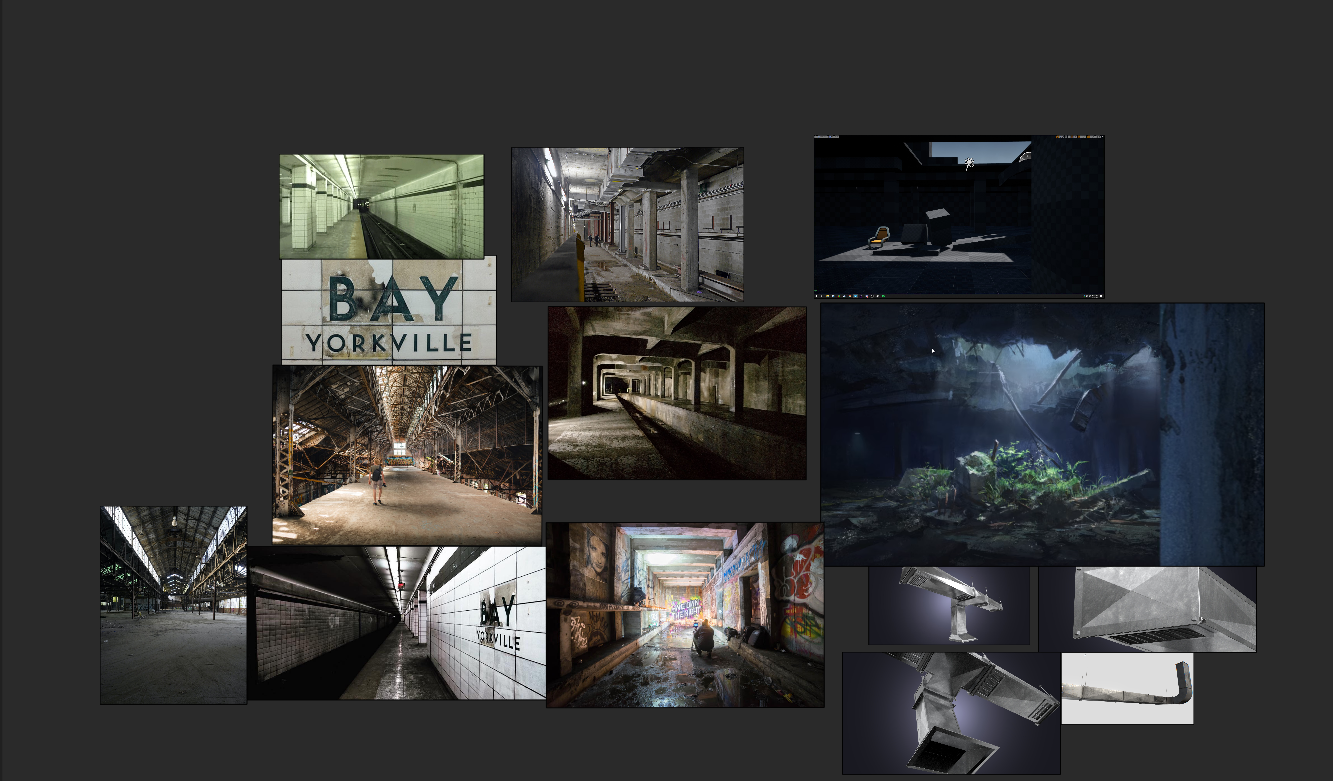
Several episodes into the series, the protagonist, now a bonafide vampire hunter, and his squad enter a the abandoned and ruined subway station in Shinjuku City, where they expect to find a vampire hideout. For a brief moment, three-maybe five seconds, there pictured a pile of rubble where the roof of the station caved in. And on that pile was an explosion of plant life. Something about those plants spoke to me, as if mother nature herself was taking back the concrete jungle from us. So I decided to recreate it as best I could in Unreal.
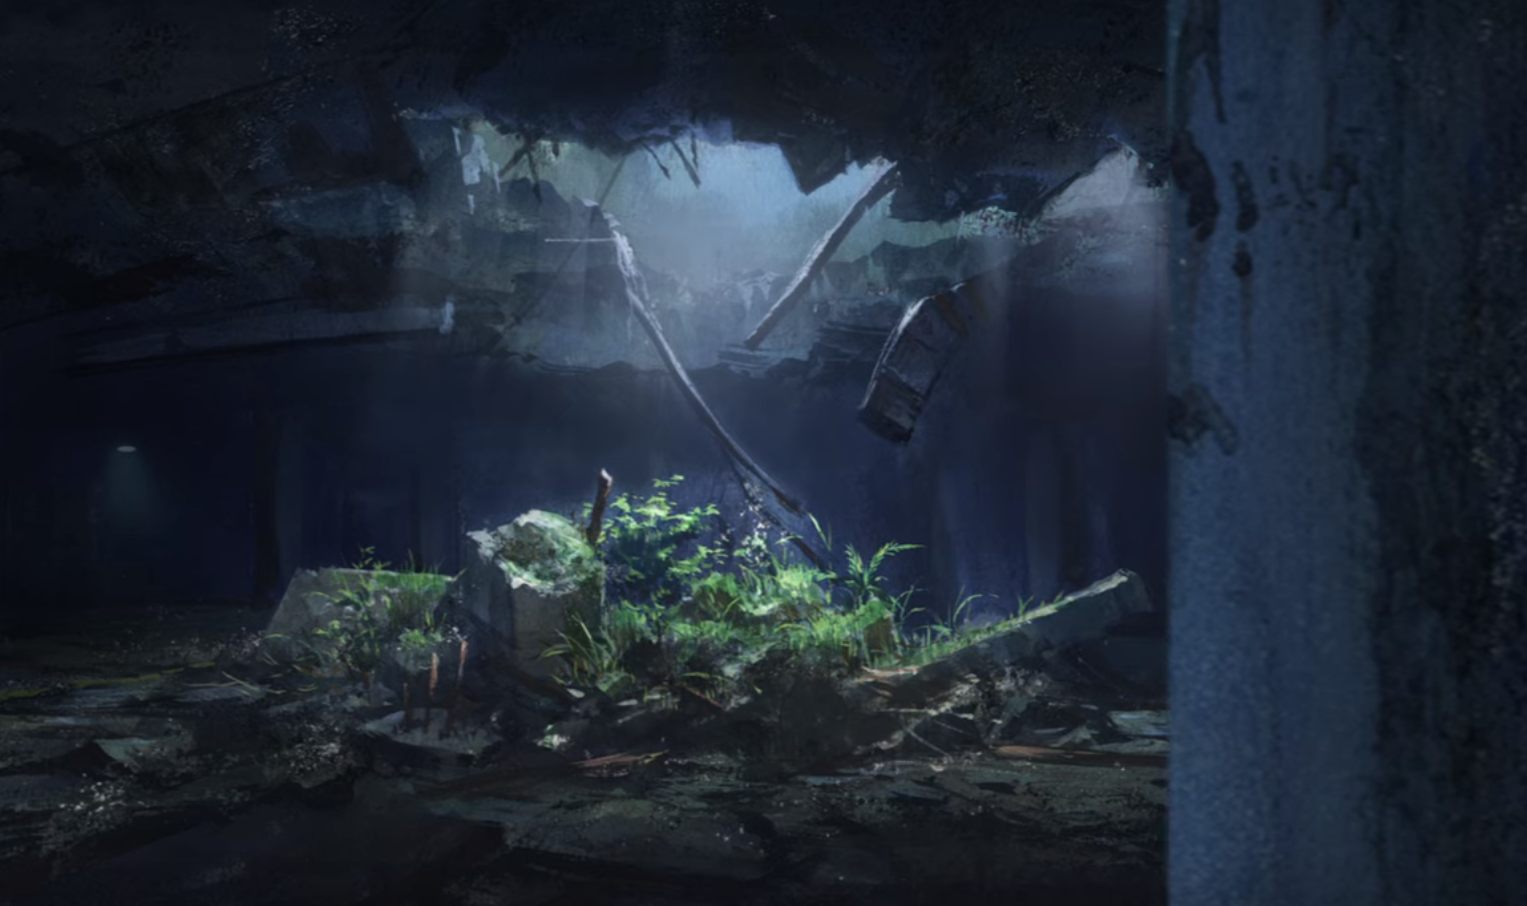
Seraph of the End, Season 1
I’ve done a handful of scenes in Unreal as exercises to become more experienced with the engine. This scene was the first one that I’m satisfied with. My other scenes were primarily nature-based, and I just couldn’t quite get them to look natural. This scene was a great choice, because the majority of the scene is boring, man made, concrete rectangles - I can do that.
Blockouts
The first step was blocking out the scene. I did this with the BSP tool, which is fairly easy and straightforward to use. I blocked out the concrete columns, ventilation, platform and large pieces of concrete in the rubble pile. I positioned the camera similar to the reference photo, and configured the directional light in a rotation and intensity that matched the reference image.
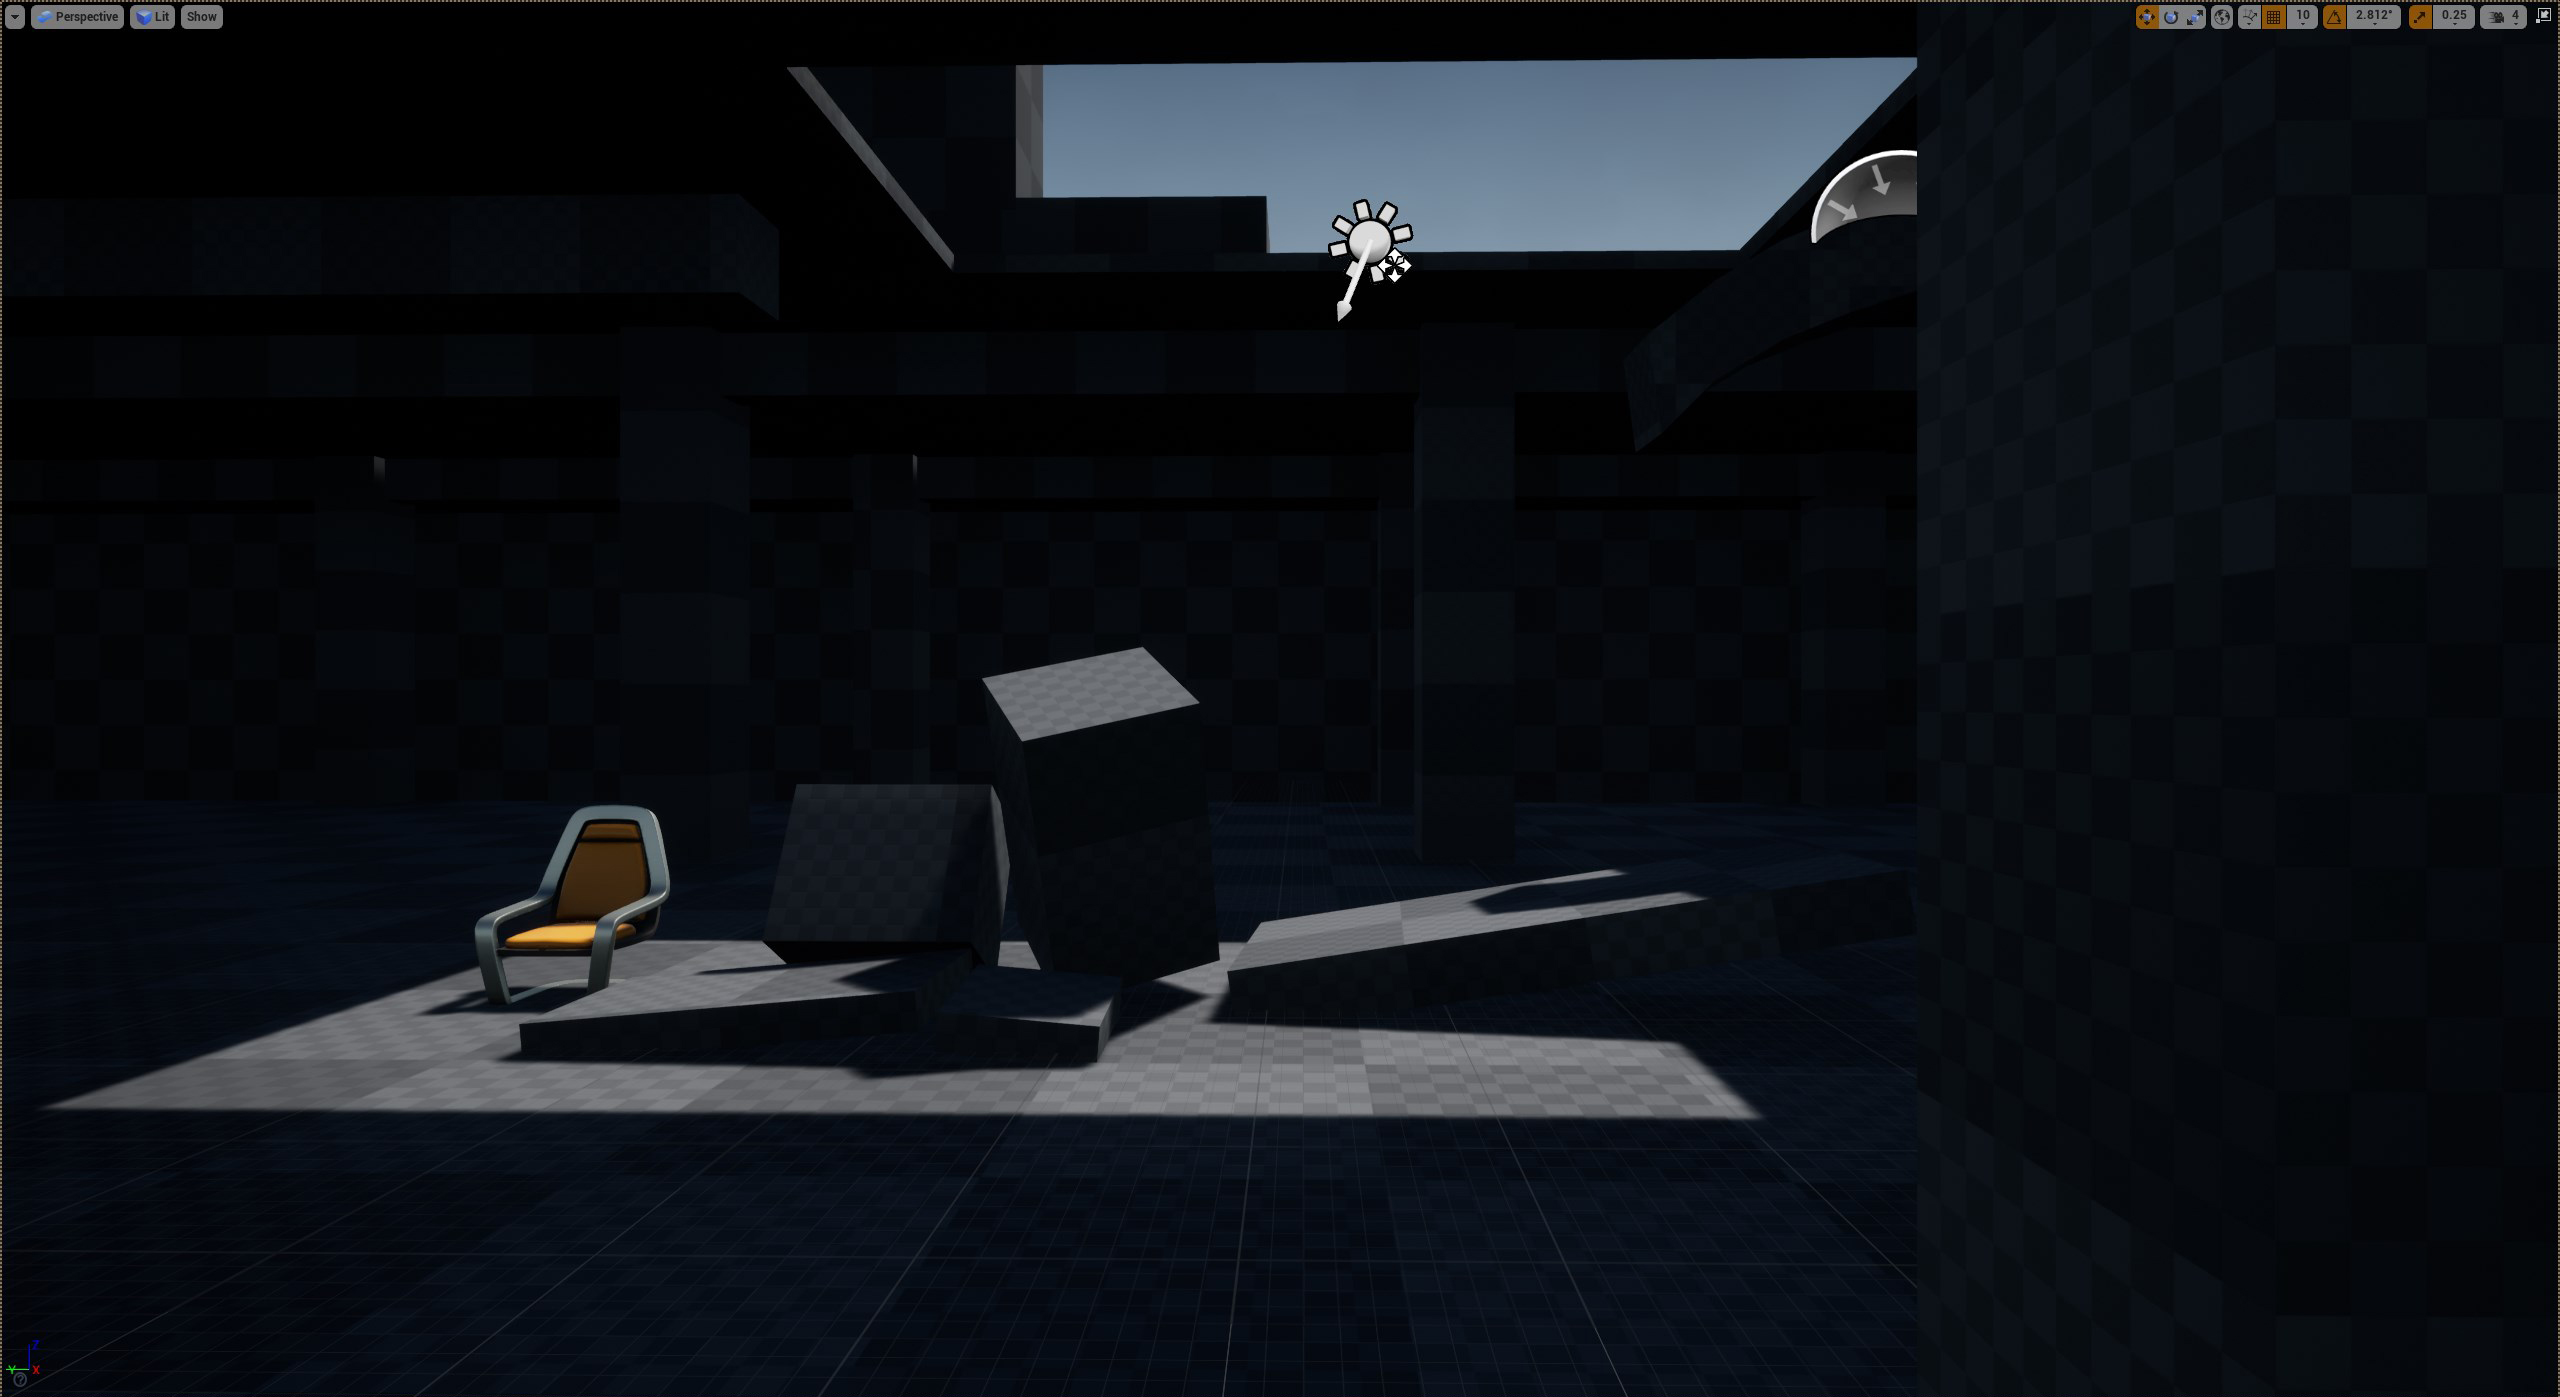
Chair for scale
At the time I didn’t know this- but I should have converted the BSPs to static meshes earlier. I figured I could leave walls, ceiling and platform as BSPs, but then I had issues with different BSPs merging together, light bleeding and other issues I still don’t fully understand.
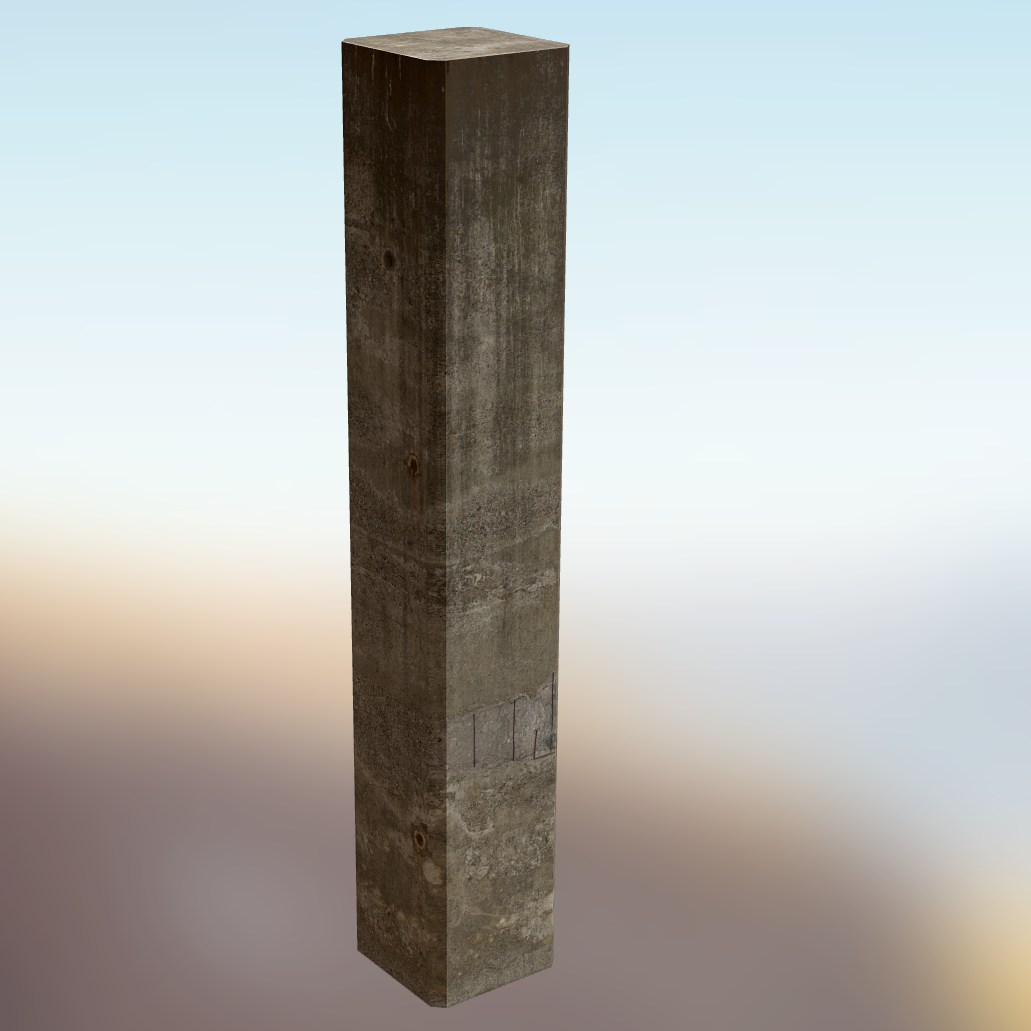
Modeling
To keep the object scales precise, I converted the column, supports and ventilation to static meshes, then exported them as .fbx files. Then imported into blender and began modelling.
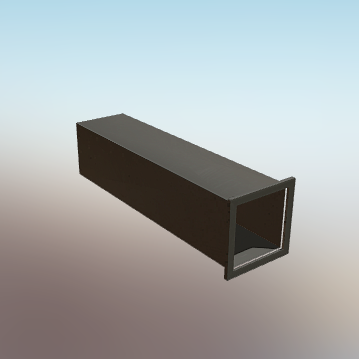
The columns were straightforward, I added a bevel on all the corners but the shape remained pretty much the same.
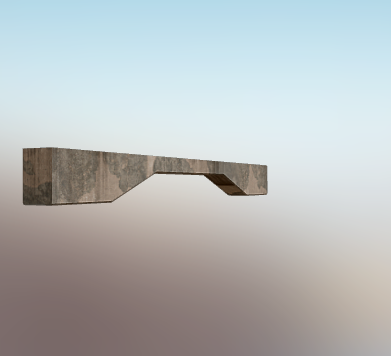
The support beams between the columns I styled a bit to add a bit of character to the very boring shapes.
The ventilation took the most amount of work, not just because it was much more complex than a rectangle but because this is where I dipped my toes into UV unwrapping. Make sure your normals are pointing out and the seams are marked.
The platform was imported into Blender, and the top surface was subdivided several times to allow for vertex painting in the editor later. I wasted several hours trying to vertex paint a BSP. It turns out you need more than four vertices to vertex paint.
I originally had planned to model and sculpt the crumbled concrete pieces, but after seeing some pretty solid photoscans in the Quixel megascans library, I opted for them. Figured I’d let the professionals handle the centrepiece.
Materials
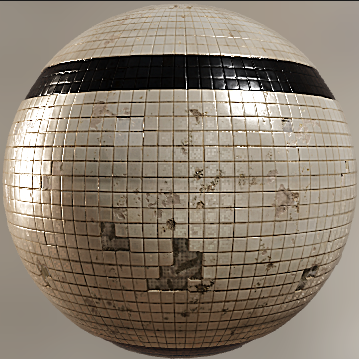
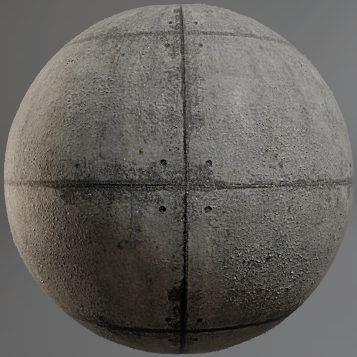
All materials were made in Mixer2020, after I figured out how to unwrap UVs in Blender of course. I wrote a detailed blog post about how I made the tile walls at the back of the scene. The floor and ceiling have a tiled concrete floor with debris in the edges.
The three models were textured inside of Mixer, this is a new feature of Mixer 2020. At first it was daunting and frustrating, but after a bit of trial and error I ended up with something that looked decent enough.
Nature
The plants are a mix of Quixel megascans assets and assets from the Poplar Forest Pack that was released for free in April. Grass is placed with the foliage tool, the rest manually.
Lighting
The scene is fully dynamically lit. Default skysphere. Skylight provides a dim base light. Directional light shines from an above at an angle to fill a rectangular shape highlighting the centre-piece. Volumetric fog is responsible for the haze, which also lights up the rest of the scene via scattering.
The shadows on the plants and rocks were quite harsh, so I solved this by positioning a spotlight behind the column on the right side of the camera.
Capture
To capture the scene, I originally tried using the “High Resolution Screenshot” feature of the Unreal Engine editor. To my disappointment it didn’t look like those screenshots used anti-aliasing, there was pixelation around the edges of the plants. I turned the editor on “Cinematic Quality”, maximized viewport and did the old fashioned “Print Screen”. If you know of a better way, let me know.
The screenshot was imported into photoshop. I cropped the editor toolbar out, and used the bandaid tool to fix some light bleeding on random edges. This is a known issue in the engine and I just didn’t have the skillset or the patience to resolve this in the editor. I modified the brightness and contract, upped the blue hues and saturation. Not quite comfortable doing this in the post processing volume, yet.
In the end I am very happy with the finished product. I started with a vision, and over the course of 4 weeks (40-50 hours), iteratively built something that I am proud of. It is by no means perfect, but it’s the beginning of confidence in myself using Unreal Engine 4, Blender and Quixel Mixer.